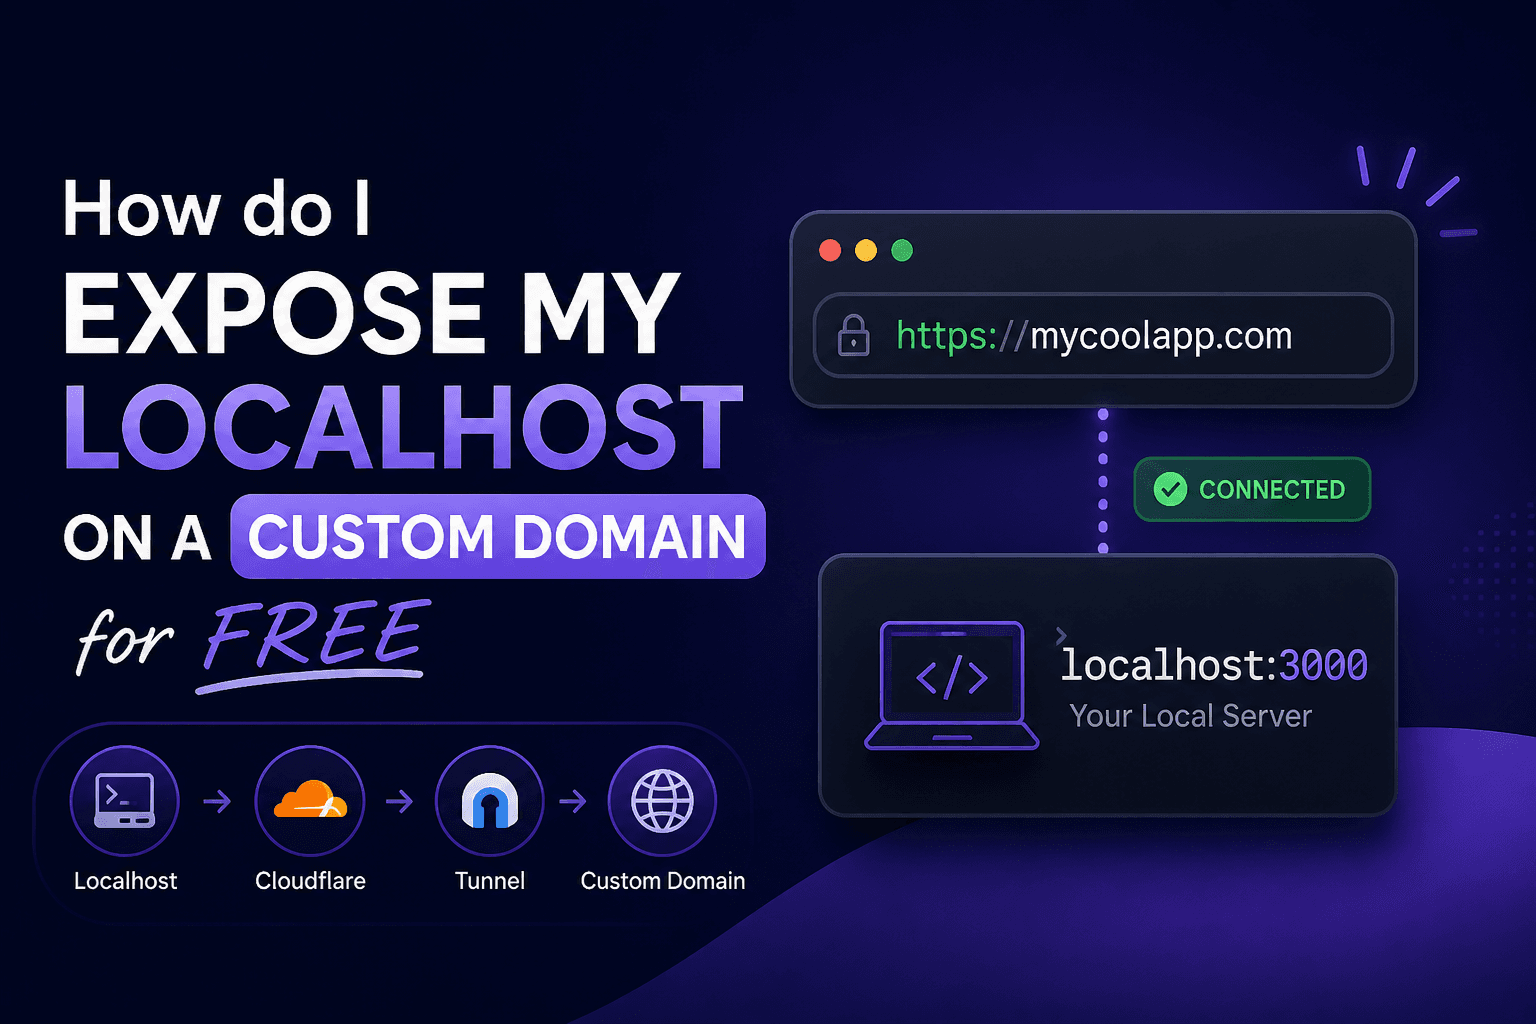
How do I expose my localhost on a custom domain for free?
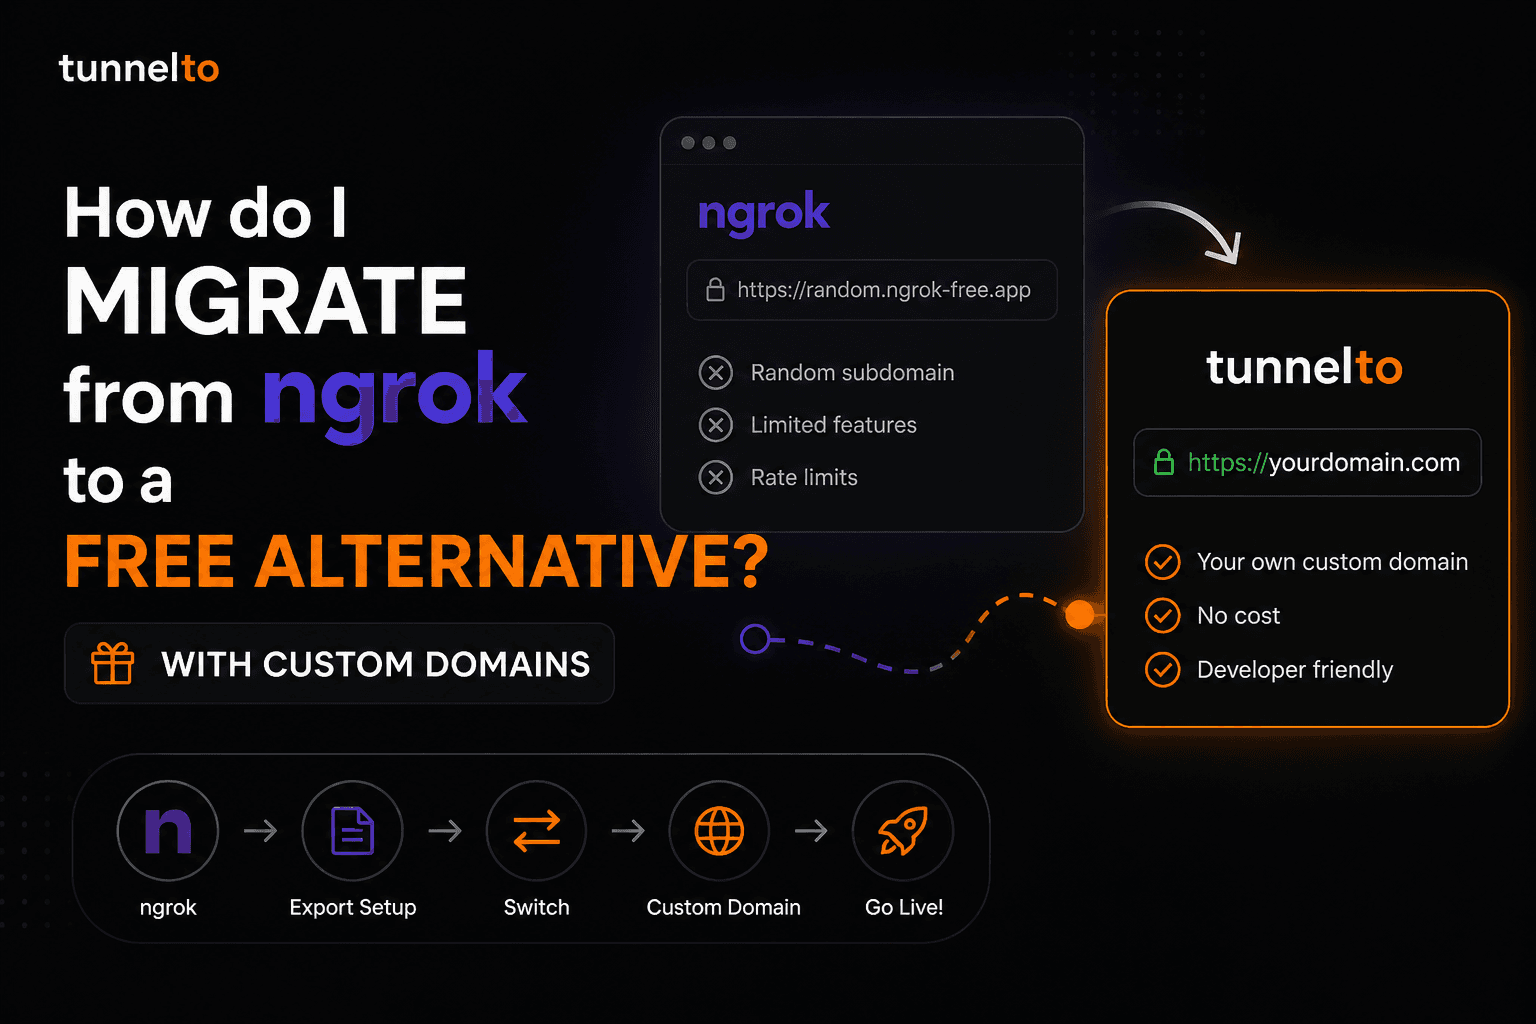
The first time I shared a localhost preview with a client, I sent them an ngrok URL. They asked me, completely seriously, whether the link was a phishing attempt. Random subdomains on a service they'd never heard of look exactly like phishing.
That was the moment I decided I'd never share another *.ngrok-free.app or *.somevendor.com URL with another human. If I'm going to share a localhost preview, it's going on a real domain that actually says my name.
This post walks through how I do that today, using a domain I already owned, for free, in about five minutes.
Short answer: Install tunnelto, add one CNAME record at your DNS provider, and run
tunnelto add preview.yourdomain.com 3000. tunnelto handles certificate issuance and routing automatically. The free plan includes 1 custom domain.
Why do I want a custom domain on localhost in the first place?
Three reasons keep coming up:
Stable URLs. Random tunnel subdomains rotate every reconnect. A URL on my own domain doesn't. That means webhook configs, OAuth callbacks, bookmarks, and shared preview links keep working forever.
Trust. A URL like
preview.acme.comlooks like a real product. A URL like7f3a2b9.tunnel-vendor.comlooks like phishing. This matters more than it should when you're sharing previews with non-technical stakeholders.No vendor lock-in. If I ever change tunnel providers, my domain stays the same. I just point the CNAME somewhere else. No dead links anywhere.
The first reason is purely technical. The second is about how the link reads to a human. The third is about not painting yourself into a corner. All three are real.
What's the cheapest way to get a custom domain on localhost?
Three options, in increasing order of friction:
| Option | Free? | Catch |
|---|---|---|
| tunnelto free plan | ✅ | 1 GB/month bandwidth, 1-hour tunnel sessions on free. Persistent tunnels from $2/mo |
| Cloudflare Tunnel | ✅ | Requires moving your domain's DNS to Cloudflare |
| ngrok / others paid | ❌ | $8+/month |
I use tunnelto because it works with whatever DNS provider I already have. My domains are at Namecheap and Porkbun, so the Cloudflare option would mean transferring DNS just to put a tunnel on a subdomain, and that's not a tradeoff I'm willing to make for a dev setup.
The free plan is genuinely free. No credit card. The 1-hour tunnel session limit on free is fine for active development. If you want a tunnel that stays up forever (for staging, internal services, or webhook receivers you can't be there to restart), the Hobbyist plan is $2/month.
How do I set this up step by step?
Step 1: Which subdomain should I use?
Pick a subdomain on a domain you already own. Common patterns:
dev.yourdomain.comfor general localhost developmentpreview.yourdomain.comfor client previewshooks.yourdomain.comfor webhook receiversapi.yourdomain.comfor local API testing
If you don't own a domain yet, grab one. They're cheap and you'll use it for everything else too. Any registrar works (Namecheap, Porkbun, Route 53, GoDaddy, Cloudflare, whoever).
For this guide I'll use preview.acme.com. Substitute your actual subdomain everywhere.
Step 2: How do I install tunnelto?
tunnelto is a free localhost tunnel with 1 custom domain included on the free plan.
macOS / Linux:
curl -sf https://app.tunnelto.me/install.sh | sh
Windows (via Scoop):
scoop bucket add tunnelto https://github.com/asabi/scoop-tunnelto
scoop install tunnelto
Run tunnelto once after installing and follow the interactive setup. Email-based, takes about 30 seconds.
Step 3: How do I point my subdomain at tunnelto?
In your DNS provider's dashboard, add one CNAME record:
| Type | Name | Target | TTL |
|---|---|---|---|
| CNAME | preview | (tunnelto's target) | 300 |
The exact target value comes from tunnelto in the next step. There's nothing to copy or paste manually before that.
Step 4: How do I create the tunnel?
Start your local server (let's say on port 3000), then run:
tunnelto add preview.acme.com 3000
Within a few seconds you should see:
✓ Tunnel Created: https://preview.acme.com -> localhost:3000
✓ SSL certificate will be automatically provisioned on first request.
That's it. https://preview.acme.com is now a public HTTPS URL that forwards every request to localhost:3000 on your machine. The certificate is real (Let's Encrypt) and automatically renewed.
Note: The first load can take a couple of seconds as it provisions your SSL connection.
Step 5: How do I keep the tunnel running across reboots?
If you want the tunnel to stay up automatically, install tunnelto as a system service (the install does it automatically, but just in case):
tunnelto install-service
This registers tunnelto with launchd on macOS, systemd on Linux, or Windows Service. After that, tunnelto start, stop, restart, and status manage it like any other service. The tunnel survives reboots, terminal closes, and laptop sleeps.
What if I want multiple subdomains on the same domain?
Two ways to handle this:
Option 1: Multiple custom domains. Paid plans on tunnelto include more custom domains (3 on Plus, 5 on Pro, up to 100 on Enterprise). Each one is configured independently.
Option 2: Wildcard DNS. tunnelto supports wildcard DNS for custom domains. Configure *.dev.acme.com once, and any subdomain like feature-x.dev.acme.com, staging.dev.acme.com, or branch-42.dev.acme.com routes to your local server. Useful for multi-tenant testing, branch previews, and per-feature subdomains. This counts as a single custom domain.
For most solo developers, the free plan's 1 custom domain plus a wildcard configuration covers everything you'd want.
How do I handle WebSockets, Postgres, or other non-HTTP services?
tunnelto isn't HTTP-only. A few extra options worth knowing:
WebSockets: Set the tunnel's TLS termination to server-tls in the dashboard. In this mode, tunnelto terminates TLS at the edge and forwards raw TCP to your local service, so the WebSocket upgrade passes through transparently. wss:// connections then work through the tunnel like any other HTTPS request.
Raw TCP: Postgres, Redis, SSH, MQTT, game servers, and anything else that speaks raw TCP. Enable "Allow External TCP" on the tunnel from the dashboard. tunnelto allocates a port and exposes it directly.
Static files only, no local server: Pass a directory path instead of a port. tunnelto add demo.acme.com /path/to/build serves the directory contents directly. Useful for sharing static site builds and design mockups without spinning up Nginx or a Vite preview.
Forward to a different machine on your LAN: Pass host:port instead of just a port. tunnelto add api.acme.dev 192.168.1.50:8080 forwards traffic to whichever machine you specify. Useful for tunneling to a Raspberry Pi, Docker host, or VM. The tunnelto client process opens the connection, so whichever machine runs the client must be able to reach the target on its LAN.
Will SSL just work?
Yes. tunnelto provisions a real Let's Encrypt certificate the moment your DNS verification succeeds. There's nothing to copy, no certbot to run, and no renewal cron job to forget about. Browsers trust it like any other public site.
If you ever change DNS providers or add new subdomains, tunnelto re-verifies and re-issues certificates automatically.
Does this work for OAuth callbacks?
Yes, and this is one of the most common reasons to want a custom domain on localhost in the first place. OAuth providers (Google, GitHub, Microsoft, Auth0, Okta) require a stable redirect URI. If your tunnel URL changes every reconnect, every OAuth provider stops trusting your callback and the login flow silently breaks.
With a custom domain, you set the OAuth redirect URI once and forget about it. https://preview.acme.com/auth/callback is yours forever.
A small gotcha: some OAuth providers (Google in particular) won't let you use a custom subdomain for OAuth unless you've verified ownership of the parent domain. Verifying takes a few minutes via TXT record, and once it's done, every subdomain is fair game.
Where do I go from here?
The whole point of putting localhost on a custom domain is to stop thinking about the tunnel URL. It becomes invisible plumbing. Webhook configs, OAuth callbacks, shared previews, and bookmarks all keep working forever.
If you haven't installed tunnelto yet, take 60 seconds to create your free account. The free plan is permanent, includes 1 custom domain, and doesn't ask for a credit card. You can read more about the custom domain use case here, or jump straight to the tunnelto homepage.
Happy tunneling.