How do I migrate from ngrok to a free alternative? (with custom domains)
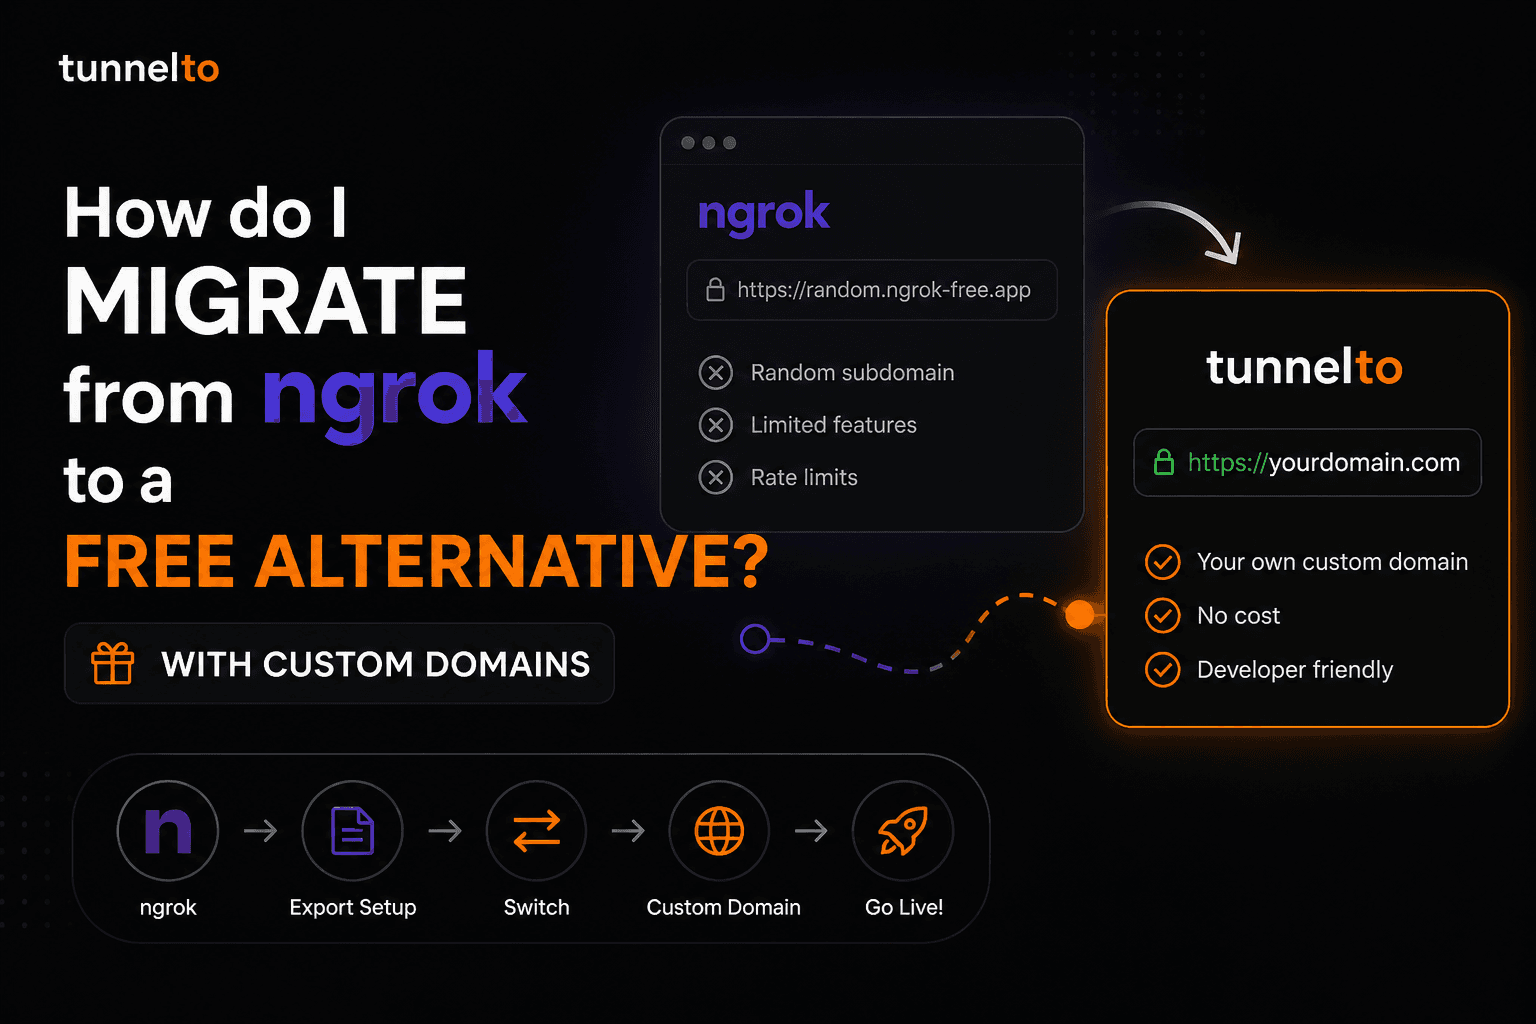
I used ngrok for years. It does the job. But three things kept biting me, and eventually they were enough that I went looking for an alternative:
Every reconnect handed me a new random subdomain, which broke every webhook config and OAuth callback I'd set up the day before.
The free tier capped me at one tunnel and one hour of session time before forcing a reconnect.
Putting a real domain on a tunnel cost money. Real money. Even though my domain was already paid for.
The fix turned out to be simpler than I thought. This post walks through exactly how I migrated, what changed in my workflow, and what to do if you've already wired ngrok URLs into Stripe, GitHub, OAuth providers, or anywhere else.
Short answer: Install tunnelto, point a subdomain you own at it, and update your old ngrok URLs to the new one. Total time is about 10 minutes for the first tunnel and 30 seconds for each one after.
Why am I leaving ngrok?
Most developers using ngrok bump into the same wall. The free tier is good enough until you start integrating with a real third-party service. Then the random subdomain becomes a problem you can't ignore.
Stripe stores the webhook URL in your account. So does GitHub. So does Slack. So do all your OAuth providers (Google, Microsoft, GitHub, Auth0). Every time the ngrok URL rotates, you have to log into each of those dashboards and update the URL by hand. Forget one and you spend an hour debugging "why are my webhooks failing" before you remember.
There are paid plans that give you a stable subdomain or a custom domain, but they start around $8 per month. That's not a huge amount in absolute terms, but it's a lot for a feature that is essentially "give me a string that doesn't change."
What I actually want is:
A URL on a domain I already own
That stays the same forever
For free
With HTTPS
Without a credit card
That's a real list of requirements, and it's the reason I went looking for an alternative.
What's the best free alternative to ngrok?
I tried four. Here's the honest comparison:
| ngrok Free | tunnelto Free | Cloudflare Tunnel | localhost.run | |
|---|---|---|---|---|
| Custom domain on free | ❌ | ✅ 1 included | ✅ Cloudflare DNS only | ❌ |
| Stable URL across reconnects | ❌ | ✅ Your domain | ✅ | ❌ |
| Works with any registrar | N/A | ✅ | ❌ Cloudflare DNS required | N/A |
| HTTPS by default | ✅ | ✅ | ✅ | ✅ |
| No credit card to start | ✅ | ✅ | Cloudflare account | ✅ |
| Native binary install | ✅ | ✅ | ✅ | SSH only |
I landed on tunnelto because it was the only one that gave me a custom domain on the free plan with any registrar, not just Cloudflare. My domains live at Namecheap and Porkbun, so the Cloudflare option would have meant transferring DNS just to get a tunnel. tunnelto just works with whatever I already have.
That's the rest of this post: how to actually do the migration.
How do I migrate from ngrok to tunnelto?
The migration is six steps. The whole thing takes about 10 minutes the first time.
Step 1: How do I install tunnelto?
tunnelto is a free localhost tunnel that includes 1 custom domain on the free plan. No credit card required.
macOS / Linux:
curl -sf https://app.tunnelto.me/install.sh | sh
Windows (via Scoop):
scoop bucket add tunnelto https://github.com/asabi/scoop-tunnelto
scoop install tunnelto
Sign up at app.tunnelto.me to get your access token, then run tunnelto once and paste the token when prompted. Takes about 30 seconds.
Step 2: Which subdomain should I use to replace my ngrok URL?
Use a subdomain on a domain you already own. My personal pattern is:
dev.mydomain.comfor general localhost developmenthooks.mydomain.comfor webhook receiverspreview.mydomain.comfor client previews
For this guide I'll use dev.acme.com. Substitute your real domain everywhere below.
Step 3: How do I point my subdomain at tunnelto?
Add the parent domain (acme.com) in your tunnelto dashboard. The dashboard then shows you two records to add at your DNS provider (Namecheap, Porkbun, GoDaddy, Route 53, anywhere your domain lives):
| Type | Name | Value | TTL |
|---|---|---|---|
| TXT | _tunnelto-verify.acme.com |
(verification token from dashboard) | 300 |
| A | *.acme.com |
(tunnelto server IP from dashboard) | 300 |
The TXT record proves you own the domain. The wildcard A record lets tunnelto serve any subdomain under it (dev.acme.com, hooks.acme.com, preview.acme.com, etc.) — that's why you only need one custom domain to cover the whole pattern.
Tip: Many DNS providers auto-append the parent domain when you enter the Name field — if so, enter only
_tunnelto-verifyand*in the Name field.
DNS changes can take a few minutes to propagate. tunnelto checks both records automatically every 5 minutes, or you can click Verify DNS in the dashboard to check immediately.
Step 4: How do I create the tunnel?
Start your local server (let's say on port 3000), then run:
tunnelto add dev.acme.com 3000
You'll see:
Tunnel created: https://dev.acme.com -> 127.0.0.1:3000
SSL certificate will be automatically provisioned on first request.
That's it. https://dev.acme.com is now a public HTTPS URL forwarding to localhost:3000. The first incoming request triggers Let's Encrypt to issue a real certificate; renewals happen automatically. The URL is yours and it doesn't rotate.
Step 5: How do I update my old ngrok URLs?
This is the part that takes most of the time, and it's also the part that you only do once. Here's a checklist by service:
Stripe
Dashboard → Developers → Webhooks → click your endpoint → "..." menu → Update details → paste the new URL
The signing secret stays the same. Don't regenerate it.
GitHub webhooks
Repo or org Settings → Webhooks → click the webhook → Payload URL field → save
The webhook secret stays the same.
Slack apps
api.slack.com → your app → Event Subscriptions → Request URL field
Slack will re-verify the URL when you save. tunnelto handles the verification challenge correctly.
OAuth providers (Google, GitHub, Microsoft, Auth0, etc.)
Find the redirect URI list in the OAuth client config
Replace the ngrok URL with your new tunnelto URL
This is the most commonly forgotten step. Your OAuth flow will silently fail if you skip it.
Twilio
Phone number config → Voice/Messaging webhook URL fields
Update both incoming SMS and incoming voice if you use both.
Shopify app webhooks
- Apps → your app → API Configuration → webhook subscription URLs
Discord interactions
- Application → General Information → Interactions Endpoint URL
Anything else
- Search your codebase for
.ngrok-free.appand.ngrok.appto catch hardcoded URLs. There are usually a few.
Step 6: How do I make sure my tunnel stays up?
One more upgrade over the ngrok workflow: tunnelto can run as a background system service so your tunnel stays up across reboots and terminal closes. Run this once:
tunnelto install-service
After that, tunnelto start, stop, restart, and status manage it just like any other launchd/systemd/Windows service. No more "I came in this morning and forgot to start the tunnel before triggering the test webhook."
What if I'm using ngrok features that tunnelto doesn't have?
Honest answer: ngrok has a richer free request inspector UI than tunnelto does, and ngrok's traffic policy / rules engine is more powerful if you're doing complex header rewrites or rate limiting at the tunnel layer. If those features are core to your workflow, you may want to keep both around.
For the 80% case (running a local dev server, receiving webhooks, sharing previews, supporting OAuth callbacks), tunnelto covers everything ngrok does and adds the custom-domain-on-free piece that ngrok charges for.
A few specific notes:
WebSockets work, with one configuration step. See the WebSocket FAQ on the homepage.
Raw TCP (Postgres, Redis, SSH, MQTT, game servers) is supported. Configure it per tunnel from the dashboard.
Bearer + Basic Auth can be enabled together on a single tunnel. Both credentials are bcrypt-hashed at rest, and neither is forwarded upstream.
Static file hosting without a local server: pass a directory path instead of a port.
LAN host targets: pass
host:portto forward to a Pi, Docker host, or VM on your network.
Will my OAuth and webhook secrets break when I migrate?
No. Webhook signing secrets and OAuth client secrets are tied to the third-party service's account, not to the tunnel URL. When you swap the URL in the third party's dashboard, the secret stays the same.
The only thing that changes is the URL itself. Your application code that verifies signatures (Stripe, GitHub, Slack) doesn't need to change at all. tunnelto forwards the raw request body and headers unchanged, so signature verification works exactly the same way.
The one place to be careful: if you have the ngrok URL hardcoded somewhere in your code or config (not just stored in a third-party dashboard), grep for it before you decommission ngrok. Common spots:
git grep -i "ngrok"
Common offenders include:
Local
.envfiles withWEBHOOK_BASE_URLor similarTest fixtures that hit the tunnel URL
README setup instructions
CI environment variables
What do I do with my ngrok account?
Once everything is migrated and you've left a few days for any forgotten integration to surface, you can either downgrade ngrok to the free tier (if you were paying) or delete the account entirely. I downgraded mine first and let it sit unused for a month before deleting it, just to be safe.
Where do I go from here?
The whole point of the migration is that you stop thinking about the tunnel URL. It becomes a permanent, free fixture of your dev setup, like your shell prompt.
If you haven't installed tunnelto yet, take 60 seconds to create your free account. The free plan is permanent, includes 1 custom domain, and doesn't ask for a credit card. You can read more about the ngrok alternative use case here, or jump straight to the tunnelto homepage.
Happy tunneling.